
Ultimate Guide to Slate Roofing Installation
- Local Gardeners
- Jul 21, 2025
- 4 min read

When it comes to roofing options, slate stands out as one of the most durable and aesthetically pleasing materials available. Its natural beauty and longevity make it a popular choice for homeowners looking to invest in a roof that will last for generations. In this ultimate guide, we will walk you through the entire process of slate roofing installation, from selecting the right materials to the final touches that will ensure your roof is both functional and beautiful.
What is Slate Roofing?
Slate roofing is made from natural stone, which is split into thin sheets. This material is known for its unique texture and color variations, which can enhance the overall look of your home. Slate roofs are not only visually appealing but also incredibly durable, often lasting over 100 years with proper maintenance.
Benefits of Slate Roofing
Before diving into the installation process, let’s explore some of the key benefits of slate roofing:
Longevity: Slate roofs can last over a century, making them a long-term investment.
Aesthetic Appeal: The natural beauty of slate adds character and elegance to any home.
Fire Resistance: Slate is non-combustible, providing excellent fire protection.
Low Maintenance: Once installed, slate roofs require minimal maintenance compared to other roofing materials.
Eco-Friendly: Slate is a natural product, and its longevity means less waste over time.
Choosing the Right Slate
When selecting slate for your roof, consider the following factors:
Color: Slate comes in various colors, including gray, green, purple, and black. Choose a color that complements your home’s exterior.
Thickness: Thicker slates are generally more durable but can be heavier. Ensure your roof structure can support the weight.
Quality: Look for high-quality slate from reputable suppliers. Poor-quality slate can lead to issues down the line.
Tools and Materials Needed
Before starting your installation, gather the necessary tools and materials:
Tools
Slate cutter or chisel
Hammer
Roofing nails
Measuring tape
Level
Safety gear (gloves, goggles, etc.)
Materials
Slate tiles
Underlayment (such as felt paper)
Flashing
Ridge caps
Preparing for Installation
Proper preparation is crucial for a successful slate roofing installation. Follow these steps:
Inspect the Roof Structure: Ensure your roof is in good condition and can support the weight of slate.
Remove Old Roofing: If you are replacing an existing roof, remove all old materials down to the decking.
Install Underlayment: Lay down a waterproof underlayment to protect against moisture.
Plan Your Layout: Before installing, plan the layout of your slate tiles. This will help you visualize the final look and ensure even coverage.
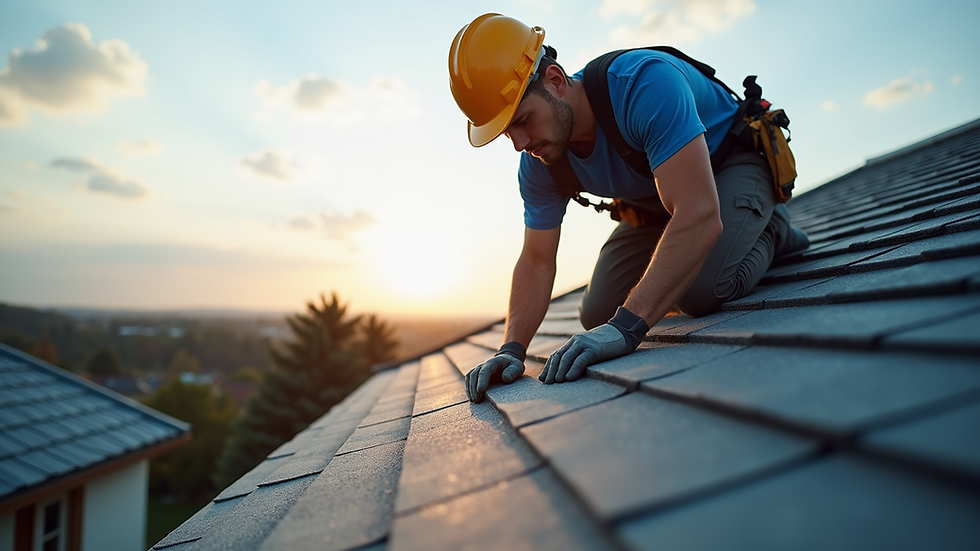
Installing Slate Roofing
Now that you are prepared, it’s time to install your slate roof. Follow these steps for a successful installation:
Step 1: Start at the Bottom
Begin at the bottom edge of the roof and work your way up. This ensures that water flows over the tiles rather than under them.
Step 2: Nail the First Row
Place the first row of slate tiles, ensuring they are level. Use roofing nails to secure each tile, placing the nails at the top of the slate to avoid water penetration.
Step 3: Overlap the Tiles
As you install each subsequent row, overlap the tiles to create a watertight seal. The overlap should be at least 2 inches.
Step 4: Cut Tiles as Needed
Use a slate cutter or chisel to cut tiles to fit around edges, chimneys, or vents. Always wear safety gear when cutting slate.
Step 5: Install Flashing
Install flashing around chimneys, vents, and other protrusions to prevent leaks. Ensure the flashing is properly sealed.
Step 6: Finish with Ridge Caps
Once all tiles are installed, add ridge caps to the peak of the roof. This will provide a finished look and additional protection against water infiltration.
Maintenance Tips for Slate Roofing
To ensure your slate roof lasts as long as possible, follow these maintenance tips:
Regular Inspections: Check your roof at least twice a year for any damaged or missing tiles.
Clean Gutters: Keep gutters clear of debris to prevent water buildup.
Remove Moss and Algae: If you notice moss or algae growth, remove it promptly to prevent damage.
Professional Help: Consider hiring a professional for any major repairs or maintenance tasks.
Common Mistakes to Avoid
When installing slate roofing, be aware of these common mistakes:
Ignoring Weight Limits: Ensure your roof structure can support the weight of slate.
Poor Flashing Installation: Improperly installed flashing can lead to leaks.
Skipping Underlayment: Always use an underlayment for added protection.
Neglecting Maintenance: Regular maintenance is key to extending the life of your slate roof.
Final Thoughts
Installing a slate roof can be a rewarding project that enhances the beauty and durability of your home. With careful planning, the right materials, and attention to detail, you can achieve a stunning result that will last for generations. Remember to prioritize safety and consider hiring professionals for complex tasks. Your investment in slate roofing will not only improve your home’s appearance but also provide peace of mind for years to come.


Comments